abilita PAY SW6 Installation instructions (EN)
Install the plugin
Follow these instructions to install the plugin in your Shopware 6 shop:
https://docs.shopware.com/en/shopware-6-en/extensions/myextensions#installing-extensions
Configure the plugin
Follow this instruction to get to the plugin configuration:
https://docs.shopware.com/en/shopware-6-en/extensions/myextensions#configure-extensions
Plugin configuration (abilita specific)
API Credentials
You can find the API credentials in your abilita dashboard.
After logging in, click on “MY COMPANY” in the upper right corner. On this page you can view and reset your API credentials:
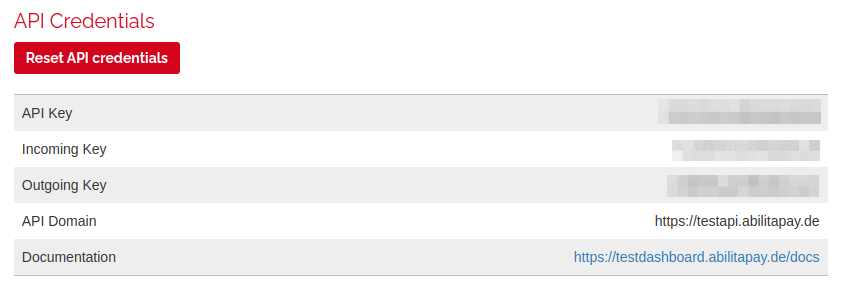
For the configuration in the plugin you need the API Key, Incoming Key and Outgoing Key.
Enter these keys in the plugin configuration in the Shopware 6 administration.
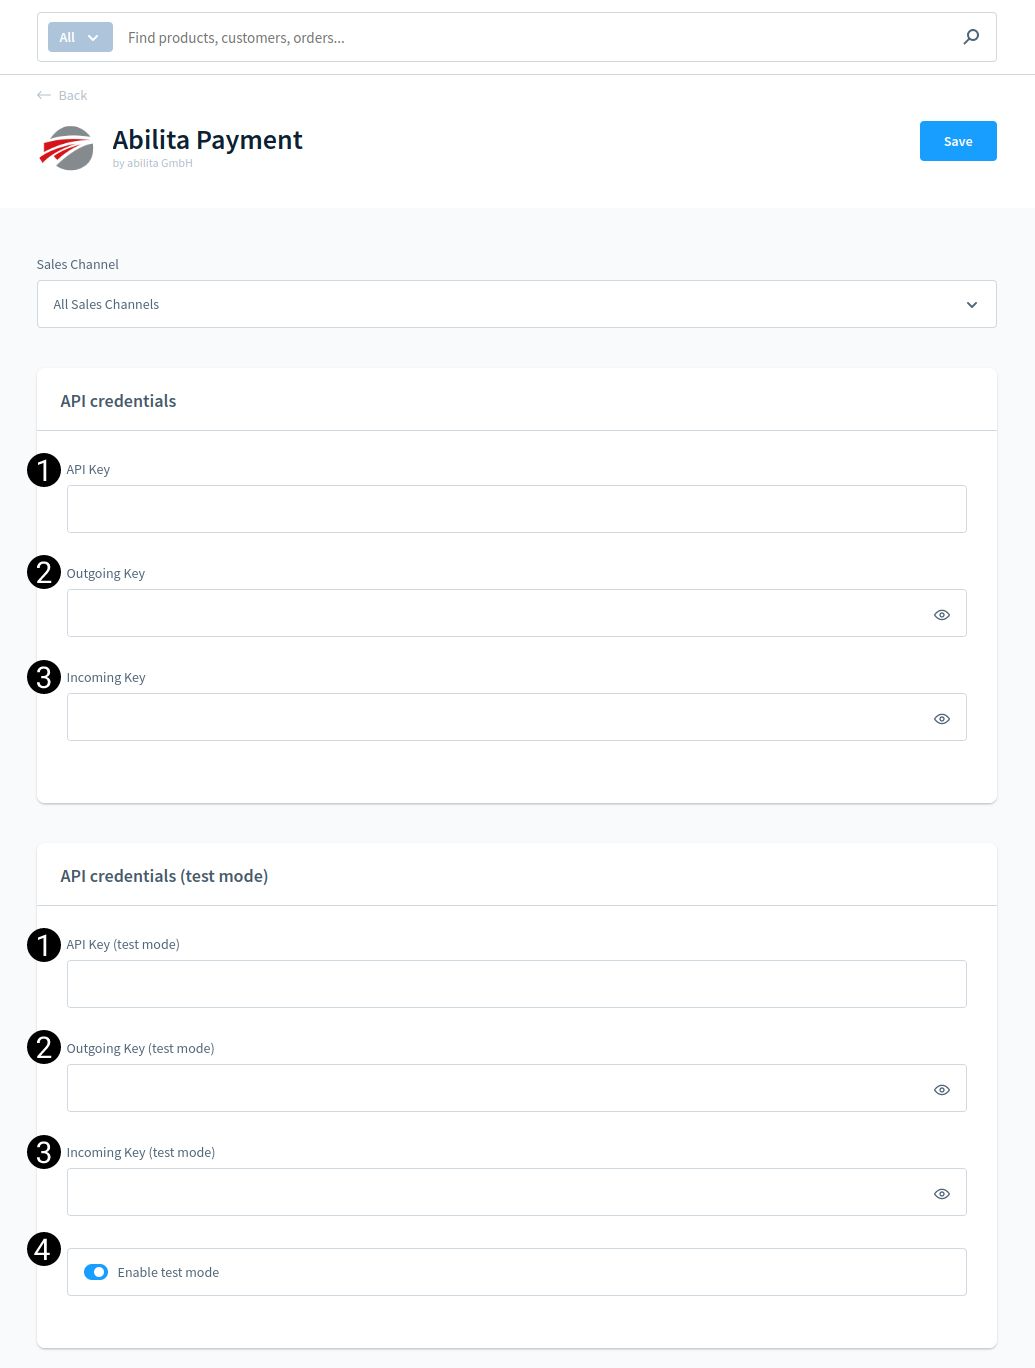
(1) API Key: Enter the live or test API key here.
(2) Outgoing Key: Enter the live or test outgoing key here.
(3) Incoming Key: Enter the live or test incoming key here.
(4) Enable test mode: With this option you can activate the test mode to test the payment methods. Test data for the payment methods can be found here:
https://testdashboard.abilitapay.de/docs/#test-payment-data
Payment settings
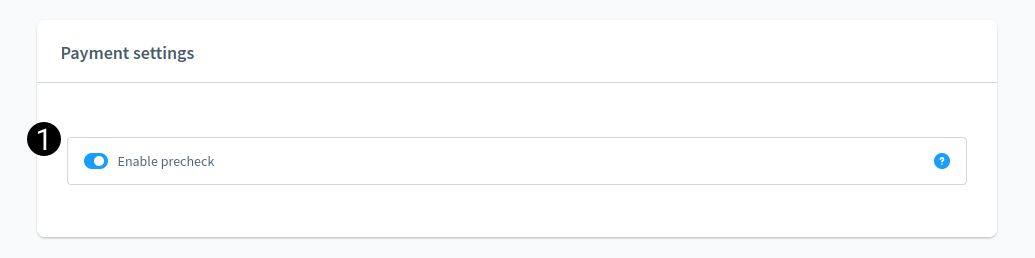
Enable precheck (1): If this option is selected, a risk check takes place before the purchase is made to determine which payment methods are possible for the customer. Only the payment methods that customers are allowed to use will then be displayed.
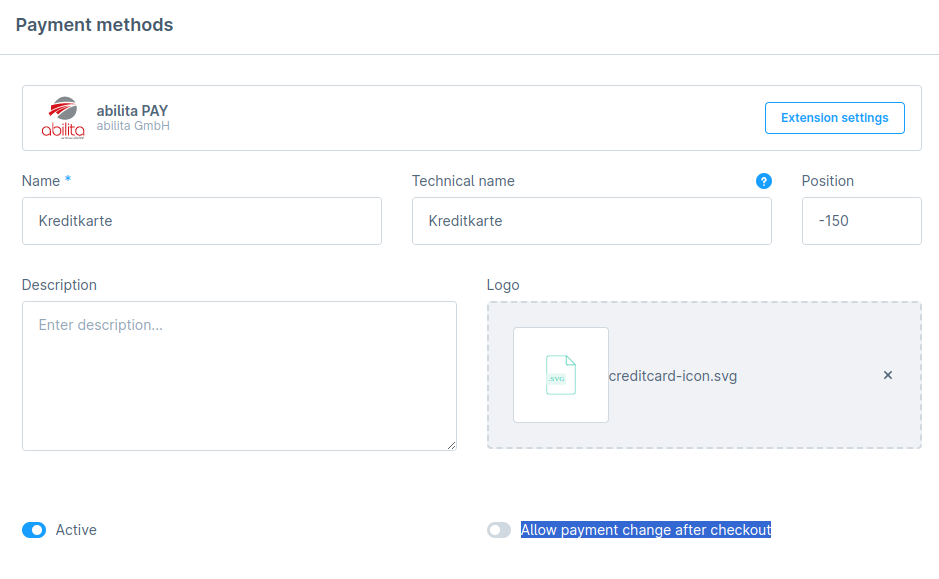
Allow payment change after checkout (2): In order to ensure a smooth process with the payment gateway and to avoid payments being billed to the customer multiple times, the option "Allow payment change after checkout" must be deactivated. This may be a default setting, but please check whether this is the case. You can deactivate the option under Settings ➝ Payment methods ➝ Credit card (example).
Set payment status on order automatically
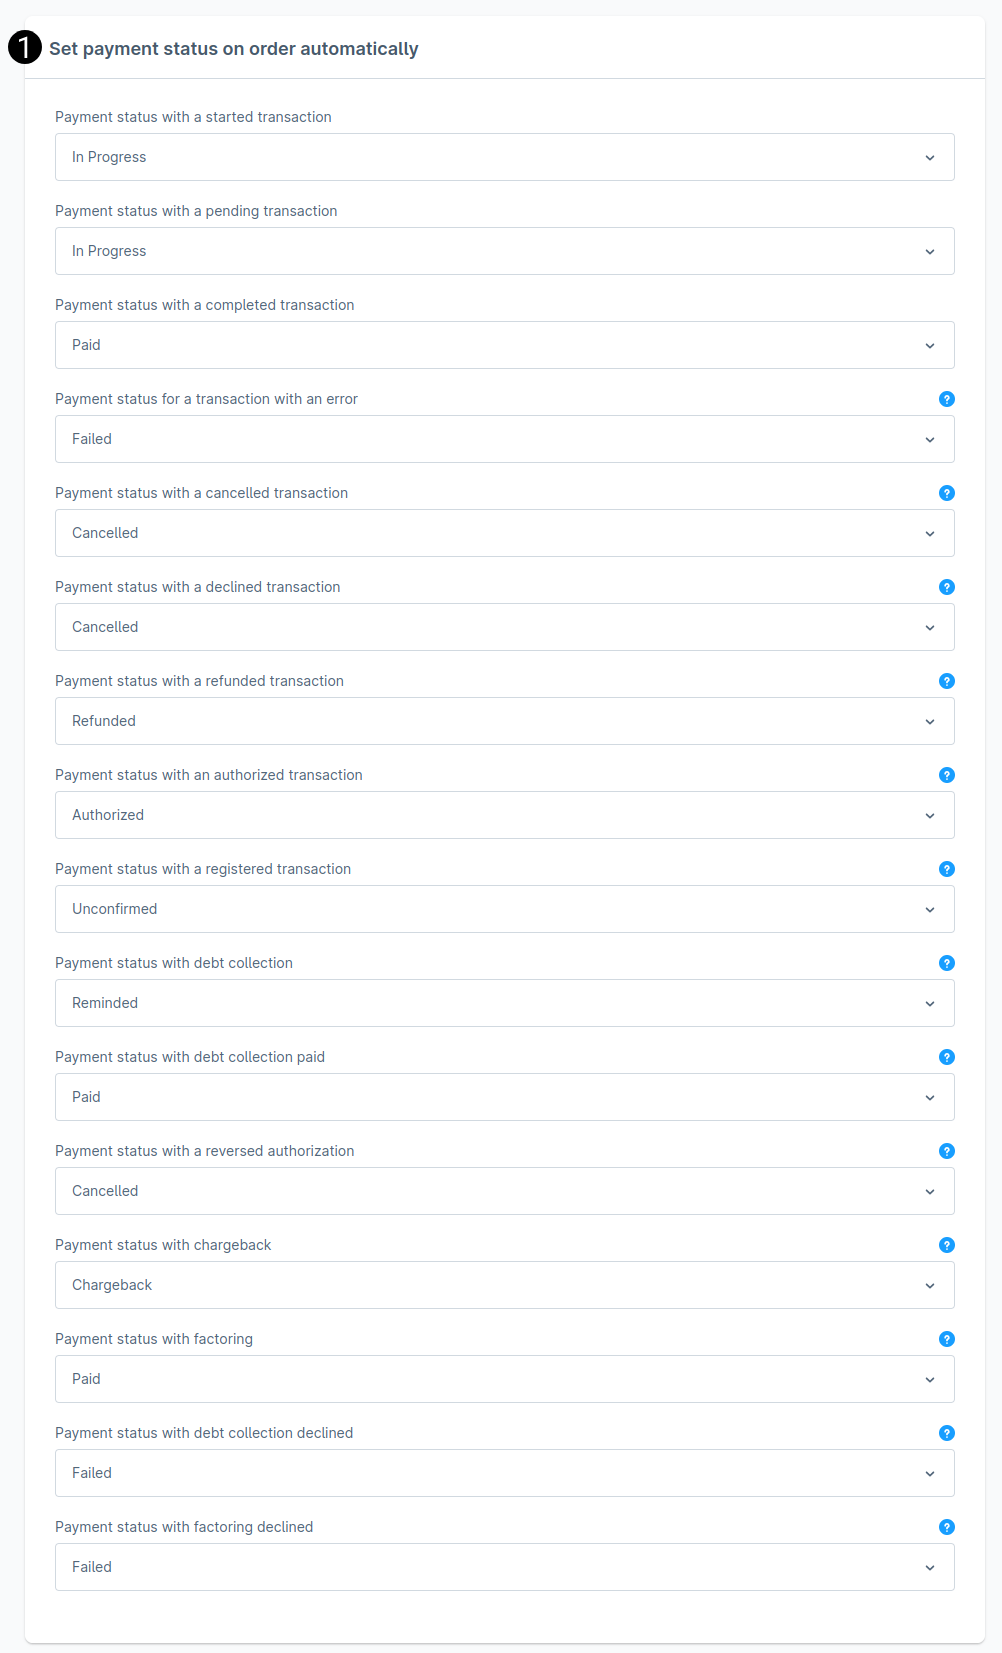
Set payment status on order automatically (1): Here you can set your mapping between the abilita status and the Shopware status. If you do not change anything here, the default settings of abilita (as shown in the screenshot above) apply. Please do only change those settings in consultation with abilita. For a more detailed explanation of each status, see the option next to the question mark (?).
Logging
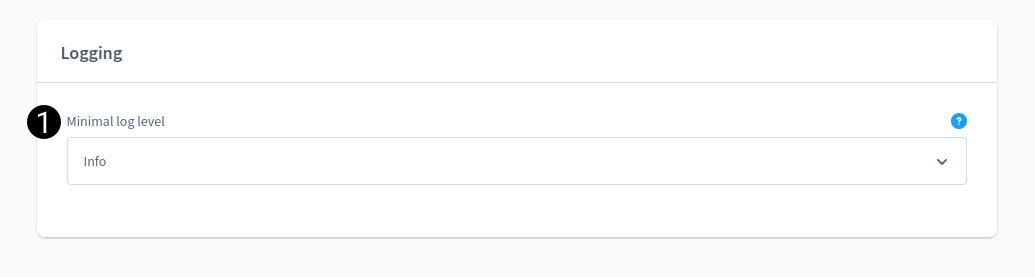
Minimal Log Level (1): With this setting you can configure the amount of the log. By default, the minimum log level “Info” is set here. In live operation, this setting should be set to “Warning” to avoid logging too much data.